One of the biggest pain points for anglers is determining how to install their fish finder. For some, this is a daunting task because if they’re going to drop a lot of money on a fish finder, they want to make sure they install it right.
There are so many fish finder mounting ideas on forums but how can you be sure that these rigged methods will work?
You can’t.
That’s why I recommend only trusting the tried and true methods. All 12 fish finder mounting options in this guide have been used for decades and I’ve used quite a few of them myself.
Read through them, don’t think too hard about it, and choose one that works for your boat and unit.
Understanding the Best Place to Mount a Fish Finder
You have quite a few options when it comes to mounting your fish finder. Determining the best location will require you to understand the anatomy of a boat but also the mount itself. Not every mount can go wherever you want it.
Read through the following mounting locations and this information will help as you look through the fish finder mounting ideas below:
Side Mount – Side mounting will include anything with a gimbal or arm. Your fish finder will be mounted to either side of the boat using a base plate and the mount will have some type of arm extending with another plate for you to attach your fish finder.
Transom Mount – The transom is the back wall of the boat where your trolling motor typically is. Mounting the fish finder here is less common but it’s usually where the fish finder transducer mount goes. These usually come with a mounting kit.
Bow Mount – The bow is the front of the boat and will usually be accompanied by a bridge mount. These mounts go over the boat deck and connect on each side.
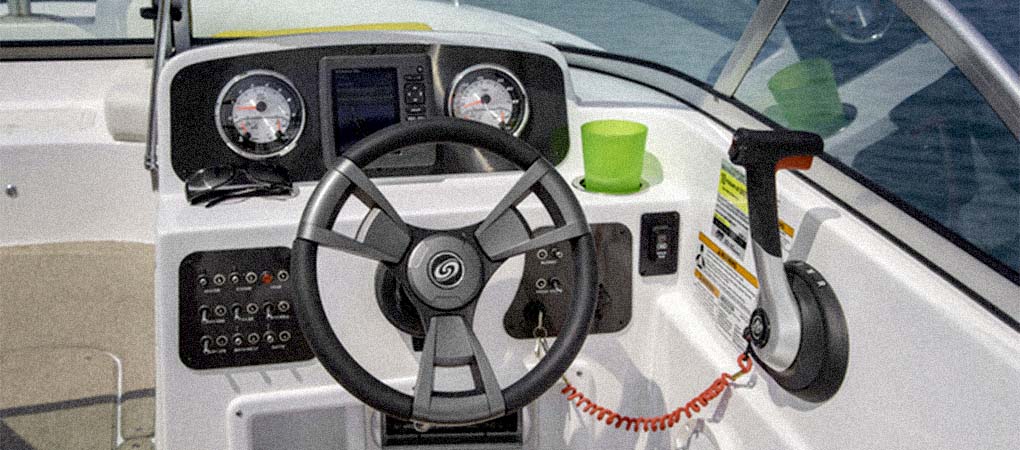
Deck/Dash Mount – Mounting the fish finder on the deck or in the dash is the neatest and sleekest way to do it. It’s also the most difficult way to mount your sonar.
12 Best Fish Finder Mounting Ideas
1. Gimbal Mount
The gimbal mount is one of the most common fish finder mounting options because it’s usually what comes with the fish finder out of the box. These consist of a base that gets mounted onto the boat and the fish finder display will attach to the top.
With everything attached, you can swivel and tilt the screen to your liking. Some will even have an extended gimbal that allows you to raise and lower the arm based on whether or not you’re sitting or standing on the boat.
The best thing about gimbal mounting is the flexibility in terms of where you put it. You can mount the gimbal on the side, bow, stern, or transom. Plus, the best fish finders should come with all the hardware and adapters you need to mount everything.
Advantages:
- Flexibility in terms of mounting location
- Comes with the fish finder unit
- Swivels and tilts
Disadvantages:
- Usually remains low
- Requires a flat mounting surface
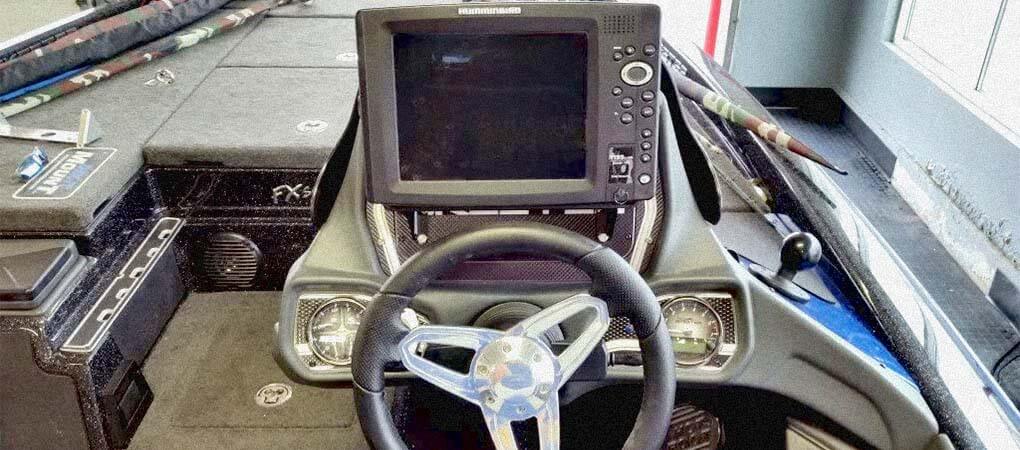
2. In-Dash Mount
Installing your fish finder directly into your dash is the most professional and sleek looking way to do it. Of course, there are some issues here. First of all, you need to have a dash which means you need an expensive bass or pontoon boat.
Second, you’ll likely need to hire someone to install this for you. I don’t know about you, but this is beyond my DIY capabilities and I’ve done a lot of sketchy stuff with my boats. I wouldn’t dare ruin the beautiful dash on a bass boat by messing this up. If you have experience though, you should be alright.
Another issue I have is that you’re highly limited in terms of where you can be on the boat then. Most professionals have multiple fish finders on the bow and in the dash so they can see as they’re driving and while they’re fishing up on the deck. For most recreational anglers, this isn’t in the budget.
Lastly, you’re also at the mercy of the size of your dash. Every boat will have a different sized dash and some may limit you to a seven or eight-inch screen.
You might be saying, Coty, is there anything positive to say about flush mounting? It’s all in the appearance. If you’re looking for a sleek and professional way to do things the “right way,” this is what you do. Besides that, it’s not always the most functional option for recreational anglers.
- Clean and sleek looking
- Fixed mount prevents damage
Disadvantages:
- Limited in size
- Difficult installation
- Fixed location
3. Bridge Mount
Bridge mounts for the bow are my favorite for a few reasons. I think they’re the best option for smaller boats because they make viewing the screen easy and they’re also sturdier and safer than gimbal mounts in most situations.
In fact, you can still use a lot of the hardware from the gimbal mount to install the bridge mount. If you attach the gimbal to the bridge you’ll still get the swivel and tilt capabilities with the added durability and sturdiness of the bridge.
The most difficult part about choosing a bridge is finding one that fits your boat. There’s no “standard” size and you want to make sure you’re not taking up too much space in the boat by getting something too big. There’s also a lot of drilling involved so if you’re not a great DIYer, you might have some difficulty with this.
- Durable and sturdy for your fish finder
- Lifts screen up higher
- Use existing hardware
Disadvantages:
- Requires a lot of drilling
- May take up more space than necessary
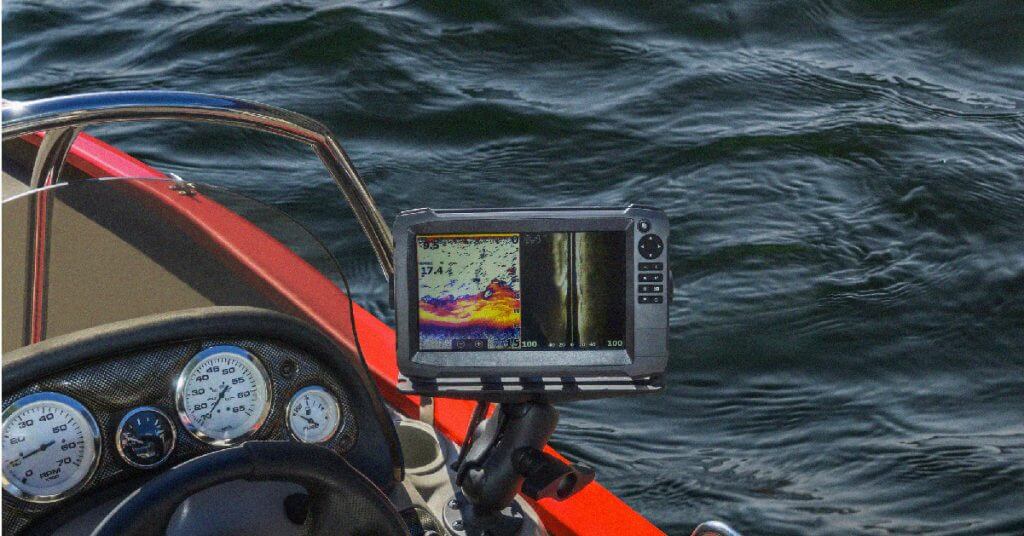
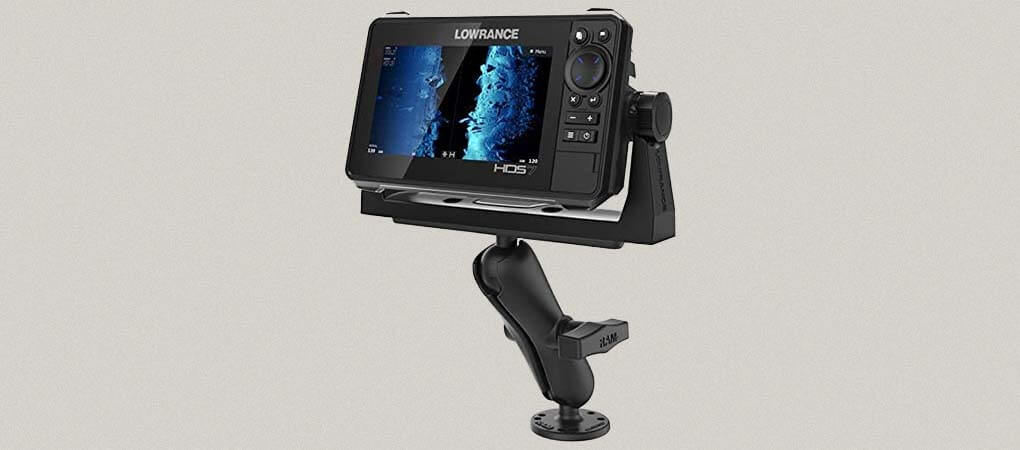
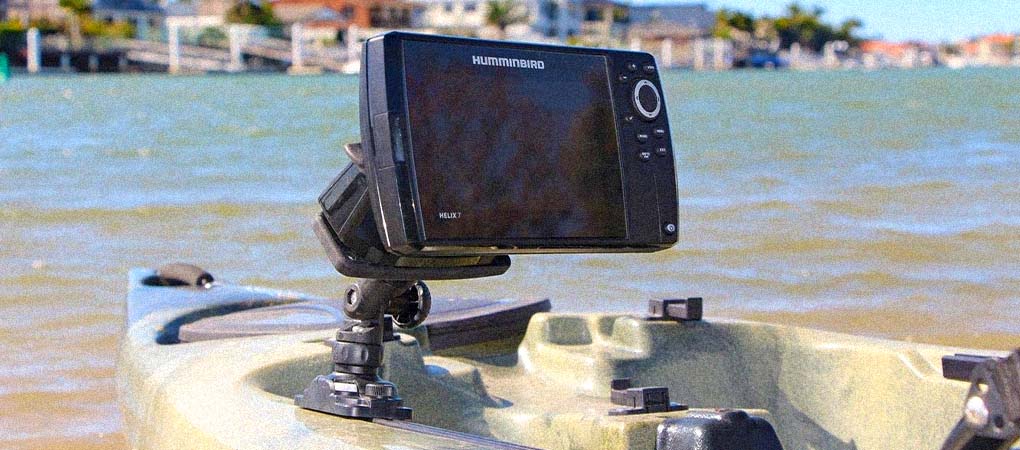
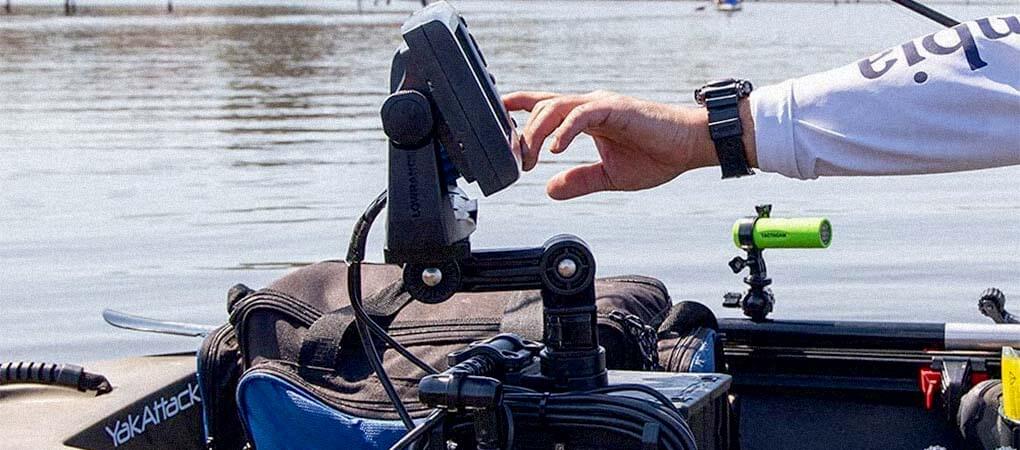
4. RAM Arm Mount

There are technically two types of RAM mounts. There’s an arm and a ball and socket mount. We’re talking about the arm mount first. These consist of a square base with a rotating arm attached to it.
RAM mounts are nice because there’s a lot of versatility in terms of where you put it and they’re great for boats with limited space. You can mount it near the console, on the hull, or back on the transom.
The pedestal that the fish finder sits on raises the unit up a little making it easier to see and many of them come with tilt and swivel features so you don’t have to crouch at all to look at the screen in the sun.
Much of the hardware comes pre-drilled so you won’t have to rig anything and I find this type of RAM mount to be much sturdier than the ball and socket which we’ll talk about shortly.
Advantages:
- Sturdy
- Flexibility in terms of mounting location
- Raises the fish finder off the deck a little
Disadvantages:
- Could be a little bulky
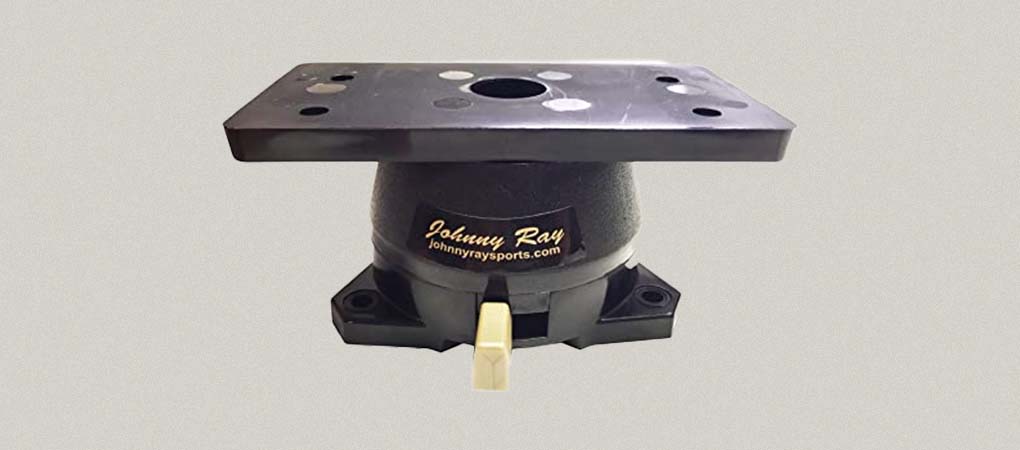
5. Universal Ball and Socket
At first glance, it looks like a no-brainer. It looks like this type of mount would be much better because it takes up less space and it raises the unit off the boat much higher. But, the main disadvantage is the sturdiness and durability factor.
If anything hits the arm, it’s going to break. That said, choosing a high-quality brand like RAM can help save you.
The good news is that you can flex, twist, swivel, and turn this mount however you like and they usually come with a lot of options in terms of mounting as well. You can squeeze them in on the side of your dash or put them really wherever you want up and down the boat.
The main thing to remember is that they’re not durable so you need to be careful.
Advantages:
- Flexible location
- Twist, turns, and swivels with ease
- Great for small boats
Disadvantages:
- Lacking sturdiness (choose the right brand)
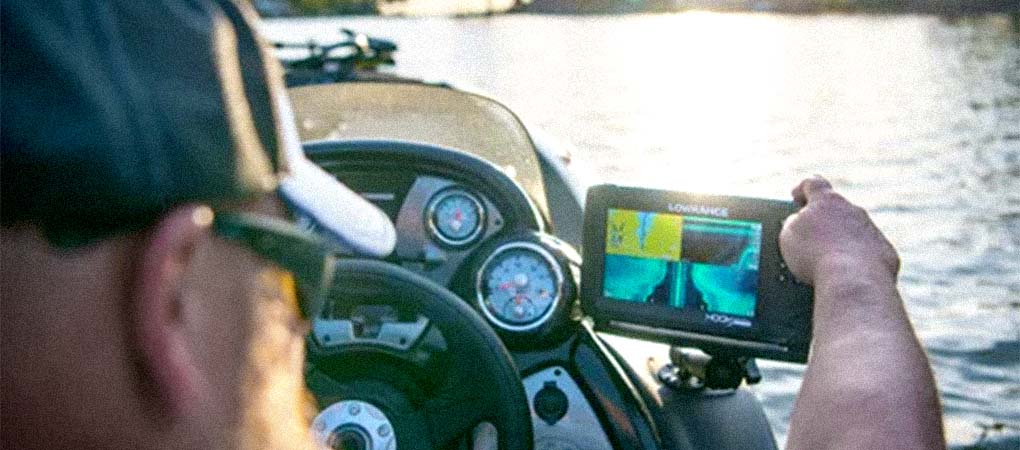
6. Dash Bridge Mount
Remember when I was talking about how challenging dash flush mounting is? A dash bridge mount is your alternative. So, if you can’t fit your fish finder directly into your dash, these mount directly to the dash and create a platform for you to sit your fish finder on.
There are a couple of reasons why someone would choose this method instead of mounting the unit flush to the dash. One, if the screen is too big. Two, if they don’t have the DIY skills.
As long as your console has a large enough flat area, you can mount this directly to it. There are some other advantages as well. You’re going to have a more pronounced look at the screen plus the ability to tilt it up when you’re standing. It might not look as good as a flush mount but in many ways, it’s actually more functional.
Advantages:
- Easier to mount
- More flexible for larger screens
- Pre-drilled
Disadvantages:
- Not as sleek as a flush mount
- Exposed to harsh weather
7. Swivel Mount
If you’ve got a flat surface gunnel, this could be the best fish finder mount for you. These are incredibly durable and use a push-button plate to allow the fish finder to swivel. There is no tilt feature on this because it lacks an arm but that’s part of where the durability factor comes into play.
The swivel mounts are usually attached using a metal base and it’ll swivel 360 degrees allowing you to view the fish finder from any angle.
Advantages:
- Durable
- Permanent
- Easy to install
Disadvantages:
- No tilt feature
- Limited based on the size of your fish finder
8. Railblaza Mount
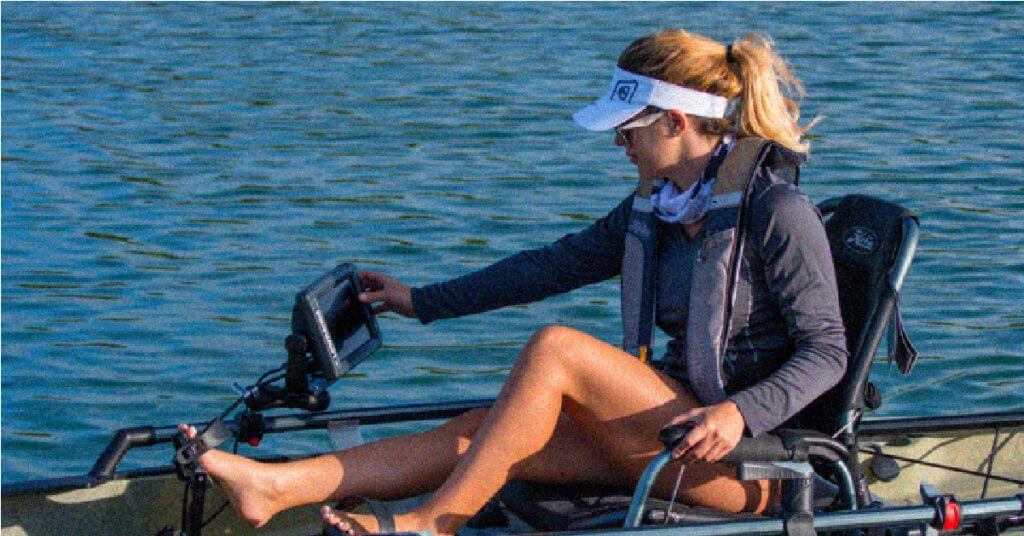
Railblaza mounts are a less permanent option for those who fish kayaks and jon boats. For these, you’ll mount the main base plate to the boat and then attach the arm and fish finder mount to it from there. When you’re done bass fishing, you can remove the arm and store it away safely for travel.
These mounts are about as durable as a suction cup phone holder for your car. They’re not durable and will snap easily so that’s why you never want to leave them attached to your fishing boat long-term or even during intense weather.
On the positive side, they’re incredibly cheap, almost anyone can install them, and they’re a great option for kayak fish finders.
Advantages:
- Easy to mount
- Non-permanent
- Great for kayaks and inflatables
- Affordable
Disadvantages:
- Not sturdy
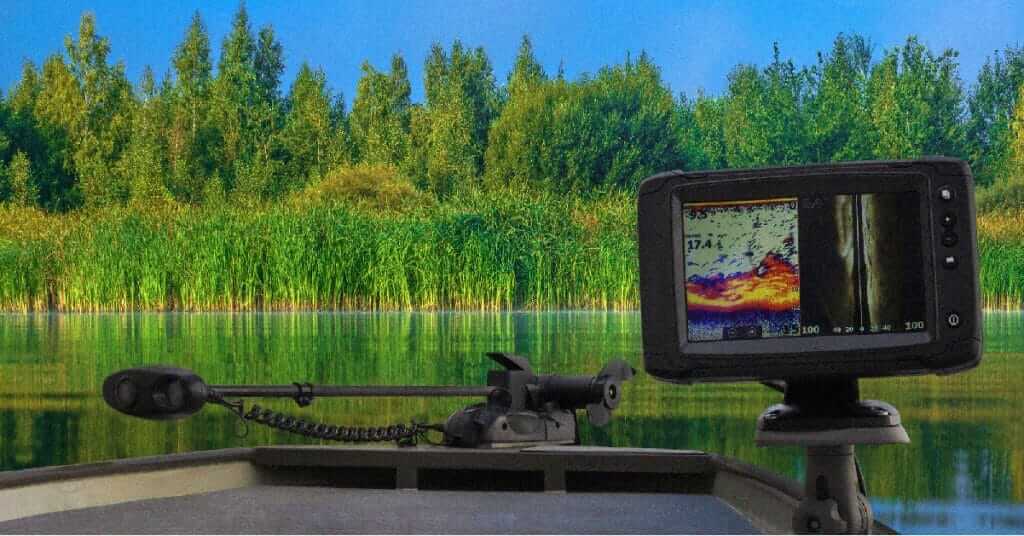
9. Track Mount
Track mounts are nearly the same as Railblaza mounts but I find that the base is a little less sturdy with these. I like a nice wide base to secure everything and the track mount base is about as wide as the arm.
The main advantage or disadvantage (depending on how you look at it) of track mounts is that they’re specifically compatible with certain fish finder units.
They make options for Lowrance Elite, Humminbird Helix, Garmin Striker, and Raymarine so you need to make sure your fish finder is compatible otherwise the holes won’t line up properly.
All in all, this is another great non-permanent option for smaller boats, kayaks, and canoes.
Advantages:
- Easy to install
- Designed for specific fish finders
- Affordable
Disadvantages:
- Limited to specific fish finders
- Not sturdy
10. Pedestal Mount
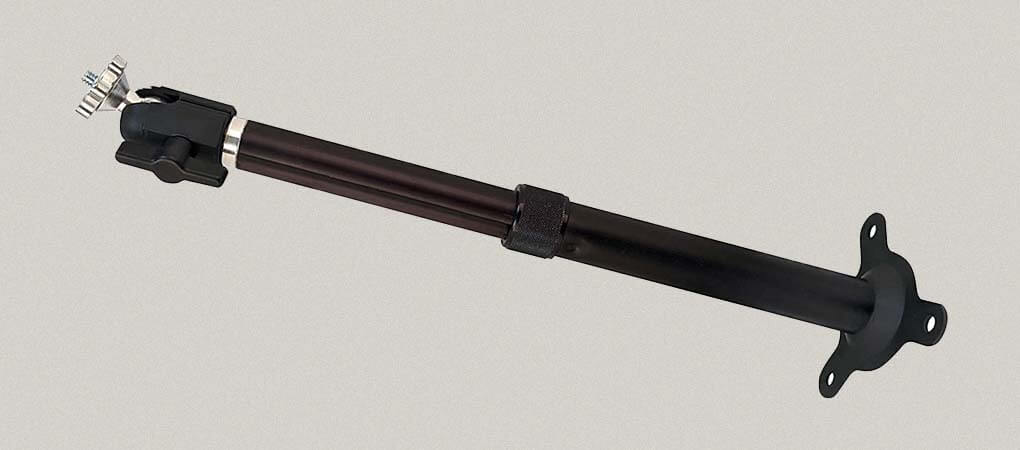
Pedestal fish finder mounts can be anywhere from one to four feet tall and extend up from the deck of the boat. These are popular in instances where intense watching is required using livescope or active imaging technology like the Lowrance HDS Live.
In terms of durability and installation, pedestals aren’t bad. They’re usually pretty durable but you won’t want to leave everything attached during transportation as you could imagine. You’ll remove the fish finder and lower the arm when you’re traveling and set everything up when you get to the water.
Advantages:
- Easy viewing
- Great for live imaging marine electronics
- Simple to install
Disadvantages:
- Lacking durability
- Requires you to set up and take down more frequently
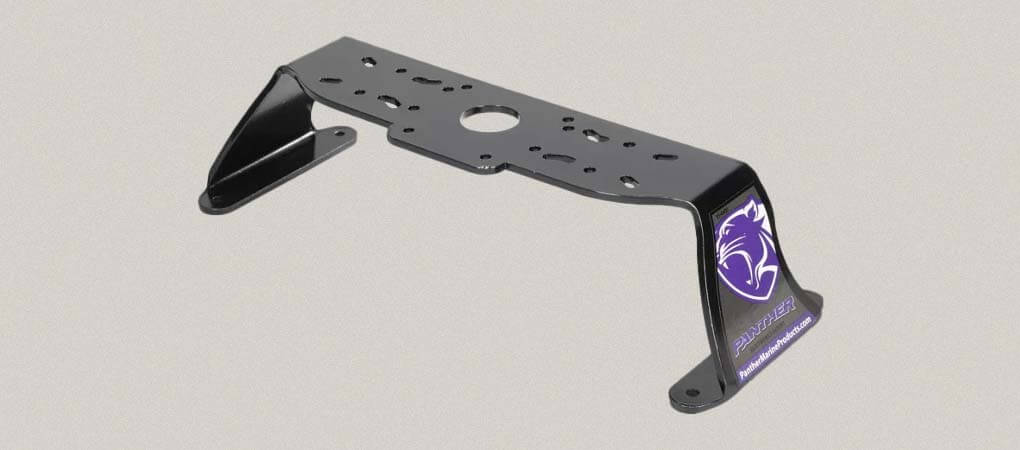
11. Kong Mount

Kong mounts are the ultimate option in terms of durability. They offer extra strength and toughness because they’re usually made with galvanized steel. Kong mounts come with pre-drilled holes and plenty of flexibility in terms of where you put them. They can twist, turn, and swivel just like the flimsy mounts as well.
Where you’ll sacrifice here is in price. These mounts are incredibly expensive with many of them costing as much as $400. I personally find it hard to see a situation where I’d need something like this. Perhaps saltwater or deep-sea anglers would use this type of mount.
If you’re in need of extreme strength for whatever reason, this is the mount for you.
Advantages:
- Fiercely sturdy and durable
- Simple to install
- Versatile in location
Disadvantages:
- Seems like overkill to me
- Pricey
12. Portable Mount
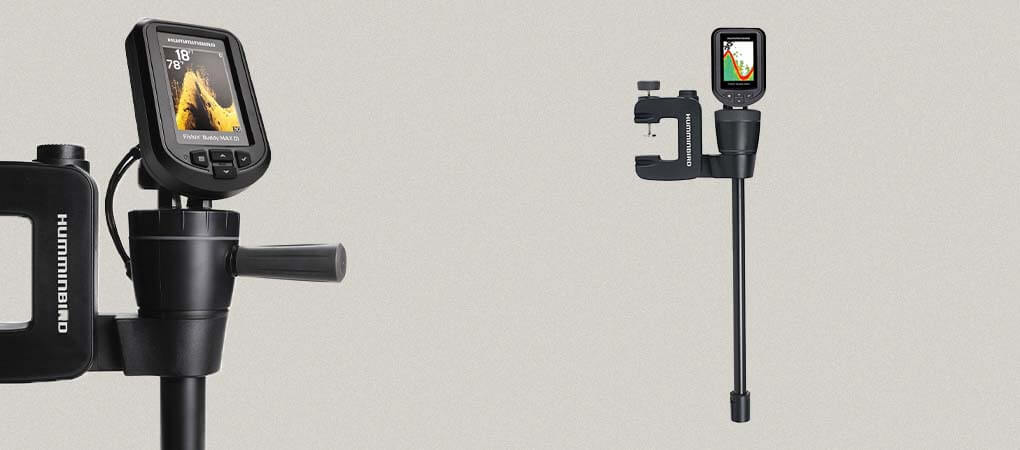
When it comes to portable fish finders, many of these come with mounts as well. These fish finders usually mount directly to the side of the boat and the transducer arm extends down into the water.
The mounts are typically a cheap plastic that simply clips onto the side of your boat so they’re not a long-term solution and something you should remove each time you’re done fishing. If you’re using a portable or handheld fish finder, having a mount could be a great way to get it out of your hand when you need to focus on fishing.
Advantages:
- Simple and easy
- Cheap
- Great for small fish finders and boats
Disadvantages:
- Can be flimsy
- Doesn’t work for all fish finders
Final Thoughts
I hope this guide helps you determine the best fish finder mounting ideas for you. My recommendation is to not think too hard about it and just settle on something that works and roll with it.
While I’d love to tell you what the best option is, I don’t know what kind of boat you have or what your budget is so you’ll have to figure it out on your own.
I’ve tried a lot of these options and they all really work as long as you use common sense when installing and using your fish finder. Good luck out there!