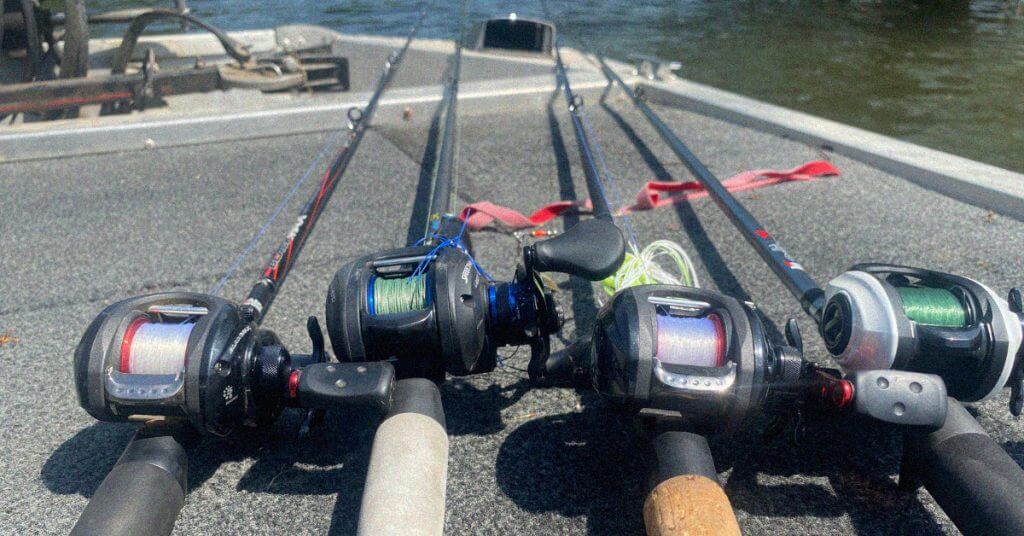
Whether you’re learning for fun or worried about the apocalypse, knowing how to build a fishing rod is not only a great survival skill, but it’s a rewarding experience. Depending on the method of building you choose, it doesn’t have to cost a lot either.
In this guide, I’m breaking down a few of the most popular DIY fishing rod methods based on past experience and plenty of research.
How to Build Your Own Fishing Rod: DIY Fishing Rod
When it comes to building a basic fishing rod, you have a few different methods. There are three primary materials that I would recommend for building a rod; some are easy to get your hands on while others are a bit more difficult:
- Wood
- PVC
- Bamboo
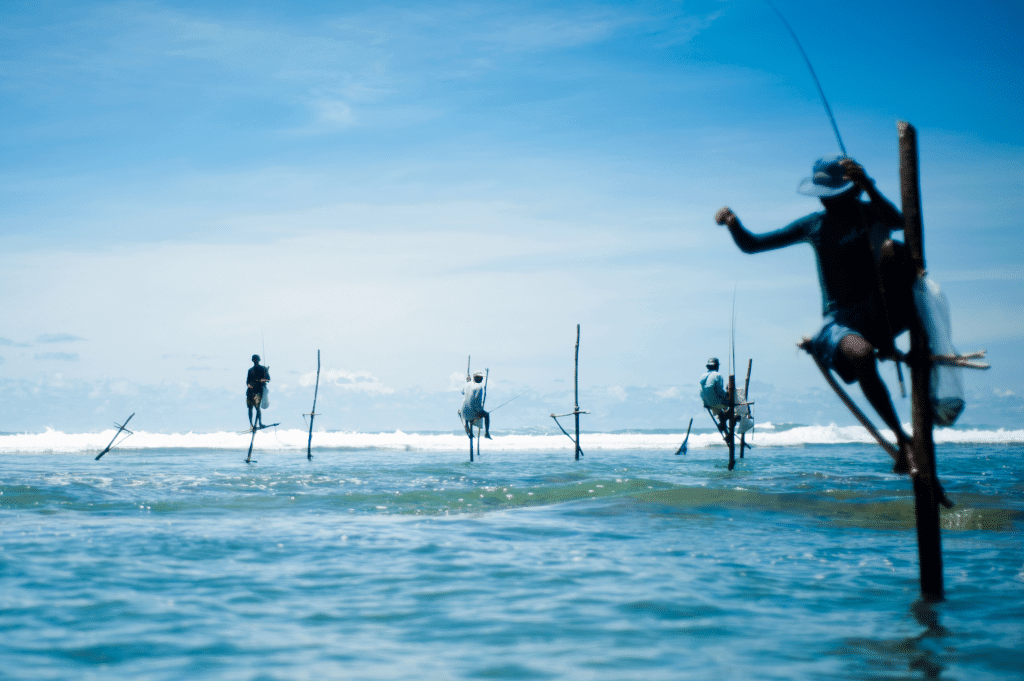
I don’t know about all of you, but I don’t have pieces of bamboo sitting around, and I’m not sure where I would buy it, so we’ll cover that one last. There’s something primitive and fun about making a stick fishing rod, so that’s the method I recommend taking in most situations.
In fact, you never know when you’ll be faced with a survival situation where you’ll need to make a fishing rod in the woods if you don’t want to starve. This information may come in handy someday, so let’s get to it!
Fishing Rod Building Equipment: Wooden Fishing Rod
First, we’re going to build a wooden fishing rod. Here’s what you need:
- A nice stick 8-10 feet in length
- Coarse string
- Fishing Line
- Fishing Hook
Prepare The Wood
You’ll want to start by finding a durable and straight stick that is between 8 and 10 feet long. Even though your rod won’t end up being that length, we always want to start bigger in case we make a mistake, or we have to trim some off. We can go smaller, but we can’t go bigger.
Remove any leaves or branches from the stick and take a piece of rough sandpaper to sand down any areas that might be sticking out the sides of the branch. Be sure to pay attention to any weak spots or imperfections in the woods as well.
If you find certain areas of the wood that looks extra dry or rotted, you’ll want to find a different piece of wood or cut that section off if you can.
Attach The String and Line
The next step is to take a piece of string approximately 20 feet in length and tie it to the branch’s narrowest section. It should be between two and four inches from the end of the stick.
Make sure you tie it nice and tight and wrap the remaining length around the stick. Now you can take some fishing line and tie that to the end of the string. The string acts as the backing for your line, and your line is what you’ll use to cast with.
The amount of line you choose to use depends on where you’re fishing and how intense you plan on going with this. If you’re just looking for something to jig in the water, you won’t need a lot of line. If you’re trying to cast long distances, you’ll need to tie quite a bit of line, which will make the rod harder to manage.
Finally, take a hook and tie it to the end of the line using a knot of your choice. When you’re ready to fish, unwind the whole thing and drop it into the water to reach your desired depth.
PVC Fishing Rod
Now we’re going to step things up a notch and make a more advanced homemade fishing rod. Here’s what you’ll need:
- Two PVC pipes
- Two ½-¾ inch slip caps
- Drill and 3/32 bit
- Medium-sized binder clips
- Fishing reel of your choosing
Cut The Pipe
The first step is to take your two pieces of PVC pipe and cut them to your desired length. Keep in mind that the total length of these two pieces will be the length of your rod, so it’s your choice how long you want it to be. I’d recommend somewhere between six and seven feet in total length.
If you’re making a rod for a child, you could make it a little shorter. Once you cut it down, take some sandpaper to smooth the edges and remove any imperfections.
Attach Slip Caps
Now you’ll line up your two slip caps and the threaded connector and slip them over the piece of pipe. Do not glue or secure them in place yet because we’ll need to make sure we got everything right before doing that.
Drill Holes
Take a 3/32 drill bit and drill about four holes through the smaller pipe. The number of holes you drill depends on how long your rod is but make sure they’re spaced evenly apart and don’t drill too many. In 99% of situations, four holes should be enough.
Attach Eyelets
Now take the binder clips; these will serve as our eyes. You’ll want to have as many eyes as you do holes. Taking your pliers, bend one side of the wire clip across the other, so you have a closed-loop on one side, and the other end has two legs pointing in towards each other.
Now clip the legs into the holes you drilled on the PVC pipe. The open-loop at the end will serve as your eyelets. If they’re not fitting snug, try bending the wire more and ensuring that both ends point directly at the other. Do this until each hole has its own eye.
Attach Reel
Next, take the fishing reel and attach it to the larger section of the PVC tubing. Use the same drill bit, drill two holes, and screw the reel in place. I would suggest going with a pretty lightweight lure; otherwise, it will weigh down the whole rod, and you don’t want something too heavy if you have to travel long distances with it.
Combine The Two Halves
Finally, you can combine the two halves using the slip caps. You’ll want to glue the two slip caps together but don’t glue both pieces together because you’ll want to be able to separate the two sections so you can store the rod in a fishing backpack. This will make it much easier to transport.
Once you’ve done this, you can run your line through the eyes, attach a hook, and throw a lure and bobber on there.
Making a Bamboo Cane Fishing Rod
YourBassGuy.com writer and video content creator Wes Littlefield challenges himself to make a fishing rod out of river cane and catch a fish with it in the YouTube video above.
Believe it or not, bamboo makes a great fishing rod because of its durability and flexibility. While it’s no fiberglass or graphite rod, it holds up pretty well with the big fish. Here are some of the steps you’ll need to follow to build your own fishing rod out of bamboo.
Trim and Smooth it
You’ll want to find a piece that’s between 8-10 feet, just like with the wooden stick. This gives you some room for error in case you make a mistake because you can always cut some off if it’s too long.
When it comes to width, you don’t want anything too girthy, and one or two inches should do the trick. If it’s too large, it’ll be awkward to fish with and a pain to carry around. I’d recommend having more than one piece of bamboo in case you make an irreversible mistake.
Once you’ve got a few pieces, you can start to trim them down using a sharp knife. Remove any leaves or imperfections and sand the whole thing down with rough grit sandpaper. Measure it out to your ideal length and trim the edges off using a saw. Sand them down as well.
Let it Dry
Bamboo canes have a lot of moisture in them, so depending on your method of obtaining them, you may or may not have to do this step. Drying them out ensures that the cane is sturdy and strong enough to hold your fish.
It’s recommended that you tie it horizontally and let the cane hang there for a few weeks. It will have a brown color when it’s fully dry, and you can swing it through the air a few times to see how strong it is. If it bends, let it dry longer or try a different piece.
Do not try to speed up the drying process in the sun because it will cause the bamboo to become brittle and crack.
Attach Your Line
Now you can take your fishing line and attach it to the bamboo. There’s a very specific way of doing this recommended by expert rod builders. They recommend tying the line about two inches above the handle of your pole and then running it the length of the bamboo until you get to the end.
The reason for this is so the pole will bend when you’re fighting a fish instead of putting all the pressure on the line, which will cause it to snap easier.
So, essentially what you’re doing here is looping the line around the rod towards the handle. Then you’re going to create the same loop at a few points leading to the tip of the rod. Take the extra line from the handle loop and run it through the other loops until you reach the end. That will then serve as your casting line, and the extra loops are there to keep the line in place.
Building Your Own Professional Rod
While playing around with sticks and bamboo is nice, what if you want to make a “real” fishing rod that can function as well as some of the ones you buy? It’ll require a lot more preparation, a little more knowledge, and some more money, but it’s worth it. Here are some of the things you’ll need to get started.
- Wrappers
- Finish dryers
- Reamers
- Scissors
- Masking tape
- Measuring tape
- Calculator
- Alcohol tour
- Finish and epoxy resin
- Rod blank
- Handle and cork
- Hook
- Thread
Steps to Building Your Rod
- Locate the spine – This means locating the steel insert inside the rod blank. You need to know where that is so you can build off of it.
- Prepare the handle – You’ll do this by combining the handle and cork to build out the butt of the rod.
- Grip assembly – Once you have the grip assembly together, you can attach it to the butt of the rod using the epoxy resin.
- Reel seat – The reel seat is an important part of the rod because it holds the spool in place. You’ll just purchase this outright and attach it to the grip assembly.
- Foregrip assembly – Once again, you can’t make this on your own, and you’ve likely purchased it, so attach it to the reel seat using the epoxy resin.
- Insert rod blank – Now, you can take your rod blank and insert that into the whole assembly.
- Rod guides – Prepare and put the guides in place using the resin and wrap depending on your desired method.
- Apply finish – Now, you’ll apply the finish to the rod to prevent corrosion from saltwater if you’re making a surf rod.
Fishing Rod Building Kits
Before you start breaking out your toolbox and attempting to purchase everything separately, I recommend going with a fishing rod building kit because it’ll make the process so much easier, and you’ll still have the satisfaction of knowing you built your own rod.
They sell spinning rod kits, casting rod kits, fly rod kits, handles, and ice fishing pole kits as well, so there’s something for everyone. You’ll be thankful to give yourself a starting point, especially if you’re not the handiest person in the world.
Final Thoughts
There’s something satisfying about building a rod with your own two hands and putting it to work on the water. Learning how to build a fishing rod is important for personal enjoyment and survival in the event of an emergency. Whether you’re putting together a “bug-out” kit or killing time on a weekend, DIY rods are fun and effective when built properly.