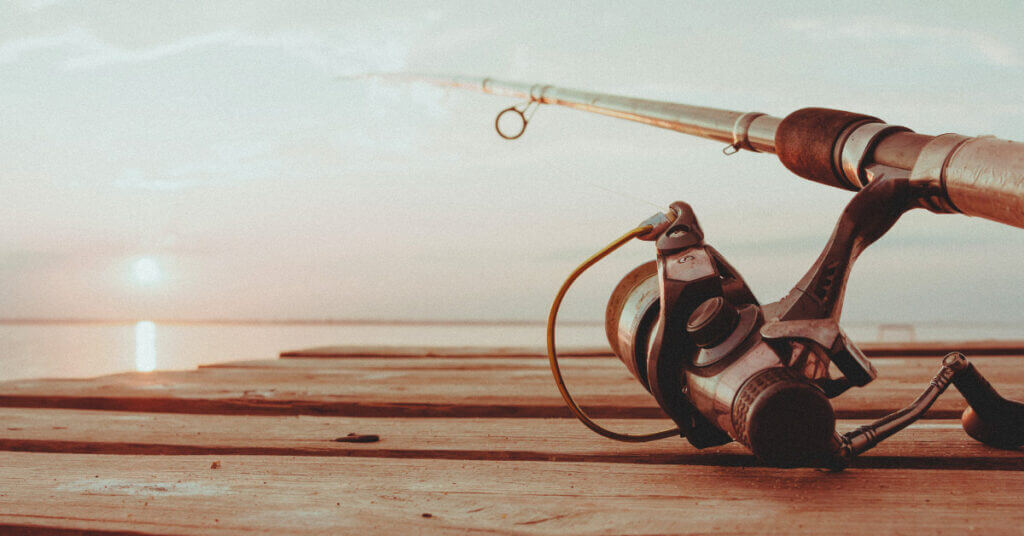
You decided to take your bass fishing to the next level and bought a baitcaster, congratulations!
However, if you’re anything like I was in the beginning, you have no idea how to cast a baitcaster without creating a bird’s nest large enough for an eagle family to make their home in!
Thankfully, I learned how to avoid creating a bird’s nest on every cast from more seasoned anglers than myself.
I can’t say my fishing line never backlashes but it occurs much less often than it used to thanks to the lessons I have learned.
YourBassGuy.com Community Coordinator, Wesley Littlefield demonstrates how he casts a baitcaster in this YouTube video!
How to Cast a Baitcaster Without Backlash
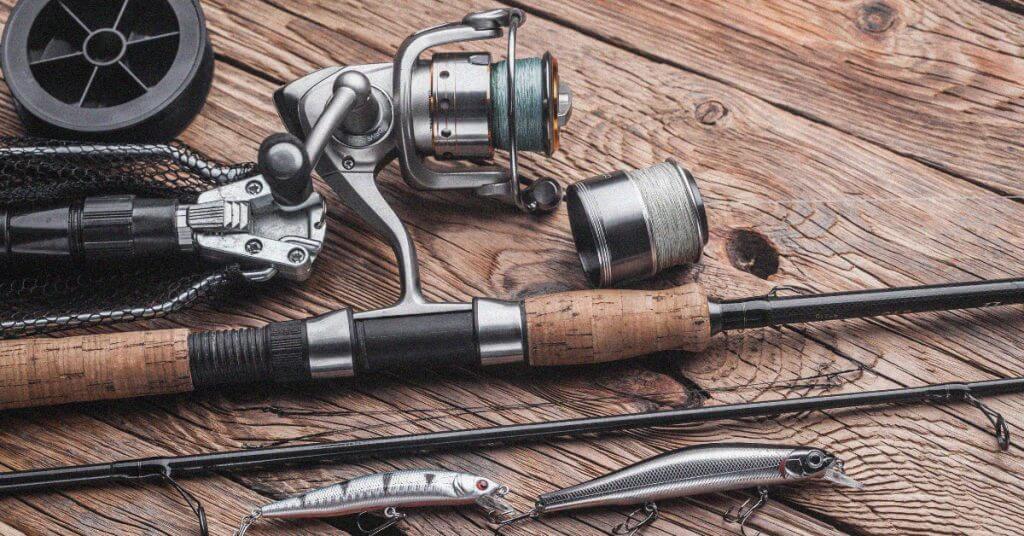
Casting a baitcaster reel is different from casting a spinning reel. You will notice the line spools off of the baitcasting reel differently and this is why the braking system/spool tensioner is needed.
Before casting for the first time I highly recommend tightening the brakes on your reel. This will cause the spool to NOT spin freely and make it much more difficult to backlash. It will also cause your cast to not go as far as it could.
Don’t fret your casting distance will increase as you become more comfortable with a baitcaster and using your thumb as a brake instead of the magnetic brakes on your reel. The following are the seven basic steps needed to cast a baitcaster reel. Understanding these basic steps will help you spend more time fishing and less time picking at a backlash.
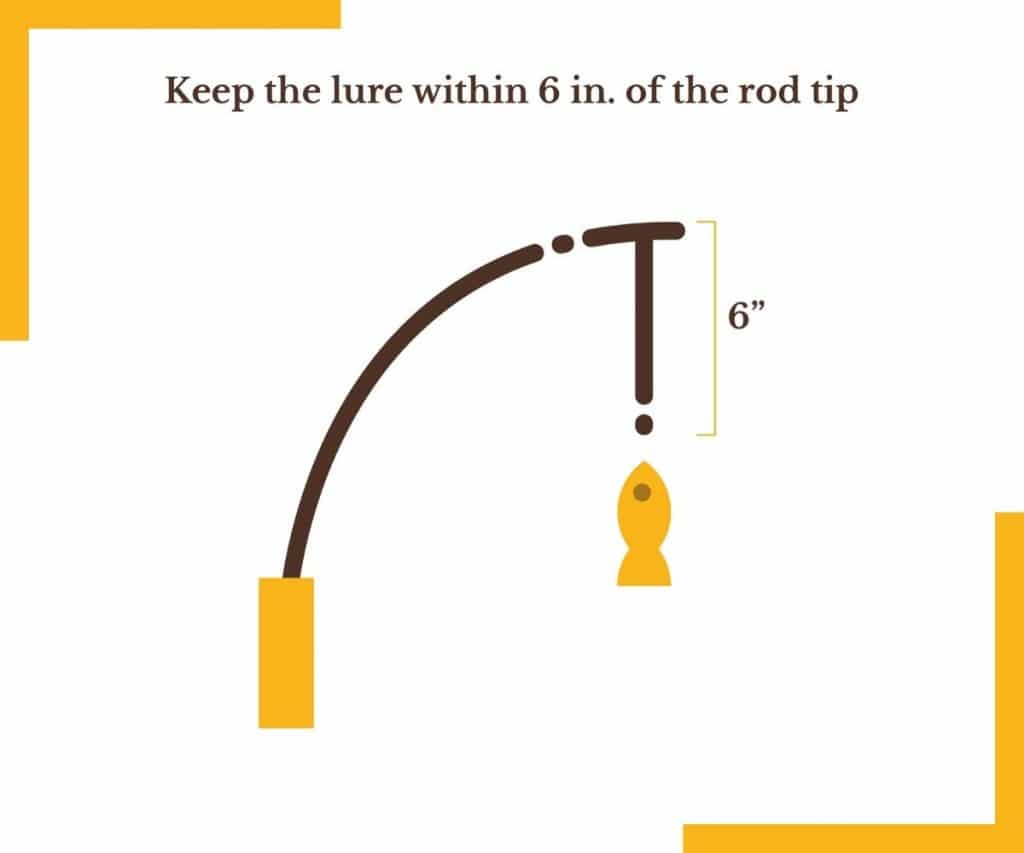
Step 1: Where to Keep Your Lure
To begin casting make sure your lure is near the tip of your baitcasting rod. I try to keep my lure within six inches of my rod tip to ensure a consistent cast.
Leaving too much line out could cause you to backlash and reeling the lure into the rod tip could break the tip or cause it to get hung up on the rod and cause a backlash.
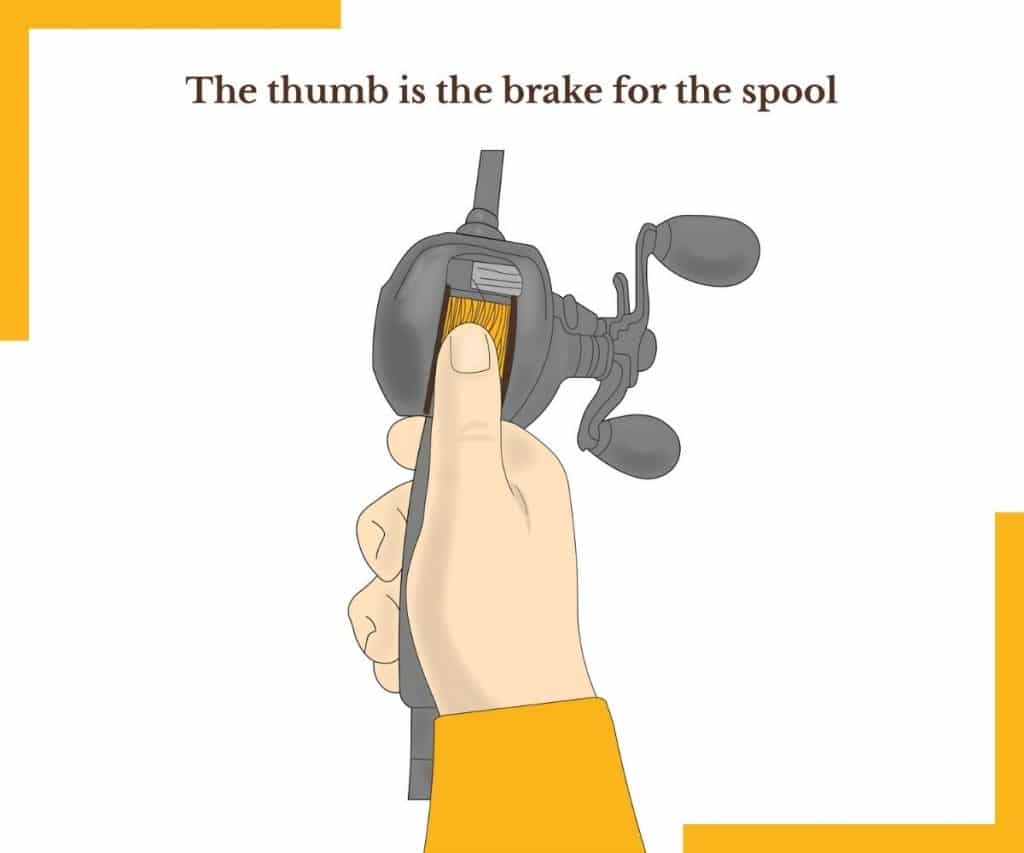
Step 2: How to Grip Your Baitcaster Handle
Now we move on to your grip. I place my dominant hand just under the reel with my thumb resting on the button and spool at the same time.
My non-dominant hand is gripping the fishing rod near the bottom.
You will find the exact position that is most comfortable for you but the main thing is keeping your thumb where it can always come into contact with the fishing line on your spool.
Remember, your thumb is the brake for the spool.
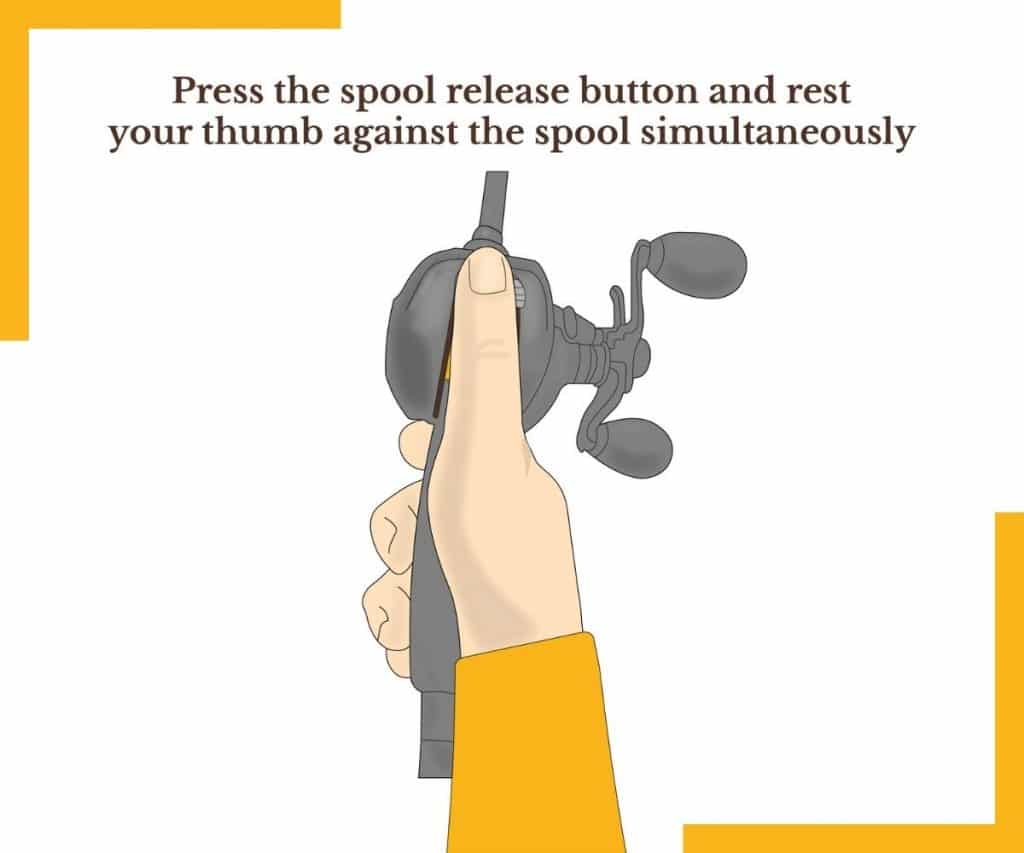
Step 3: When to Release the Spool
Now it’s time to press the spool release button and rest your thumb against the spool simultaneously. This will keep your lure from falling to the ground before you cast.
If your brakes are cranked all the way up your lure shouldn’t fall but this is a good habit to develop for when you lessen the brakes as you hone the skill of casting a baitcaster.
Step 4: Casting Angles
While keeping your thumb on the spool bring the rod tip back between 12 o’clock and 3 o’clock. You will find being able to cast from all angles will be needed while fishing eventually.
I found it was easiest for me to cast sidearm initially and gradually work my way towards casting directly over my head.

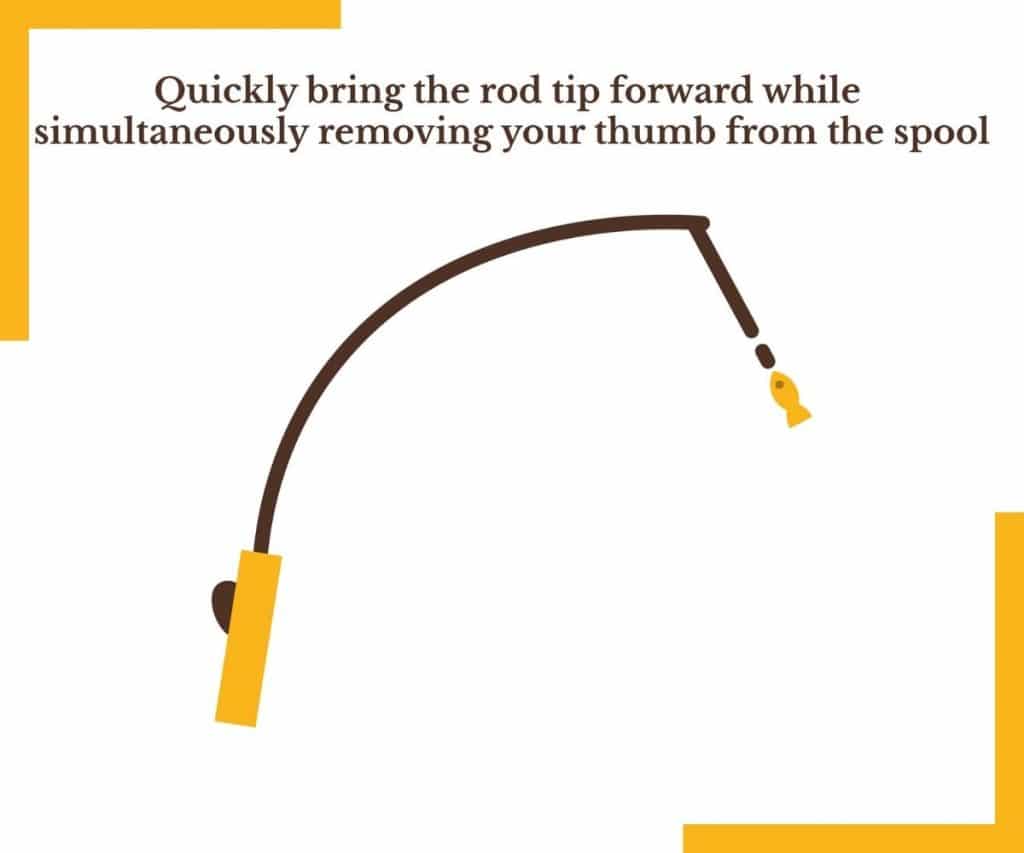
Step 5: Baitcasting Motion
Quickly bring the rod tip forward while simultaneously removing your thumb from the spool. The smoother you can make your cast the better. Putting more power into your cast does not always mean more distance and often results in a terrible backlash.
It will take a bit of practice to get the timing down for when to remove your thumb and exactly how much power to put behind your cast. Following through with your rod tip will help you cast more accurately. I end my cast by pointing at the location I want my lure to end up in.
Does this always work?
No, wind plays a big part in our casting accuracy but I have noticed I am much more accurate when I take the time to follow through with my cast.
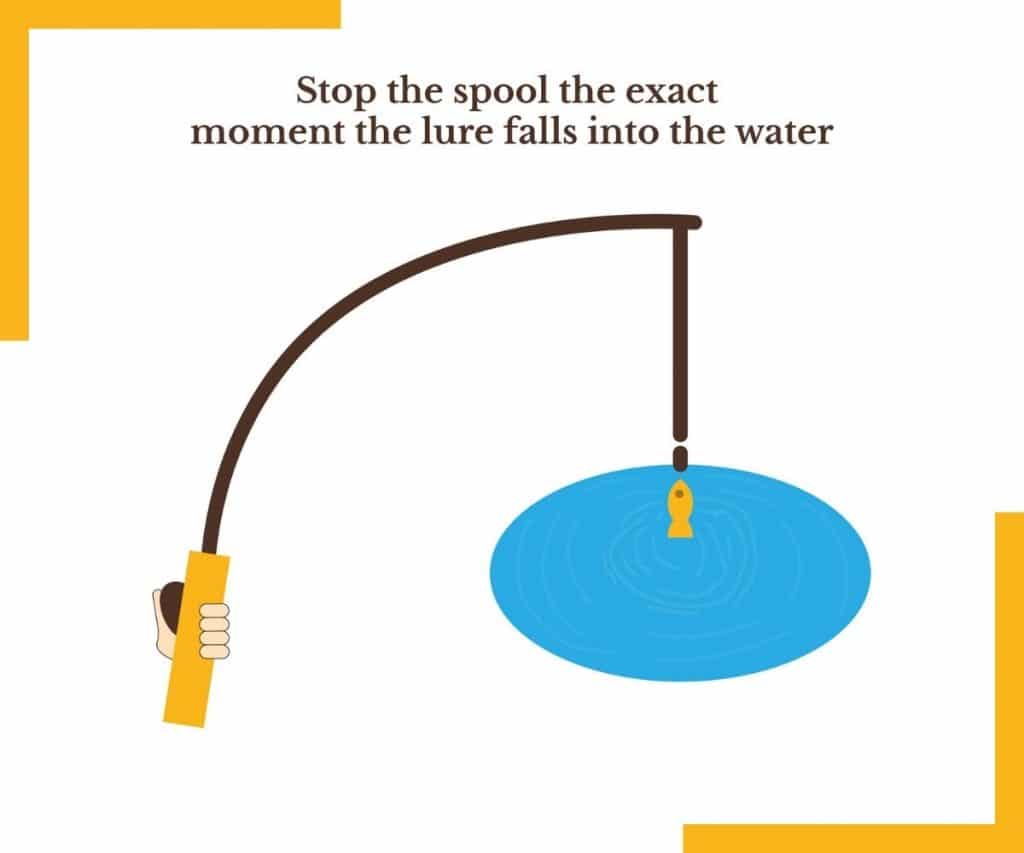
Step 6: The Most Important Step! Stopping the Spool
As the lure is flying through the air get ready to place your thumb back on the spool to stop it. You want to stop the spool the exact moment the lure falls into the water.
If you do not, you guessed it, a bird will build a nest inside your reel. Don’t be afraid to stop your lure before it hits the water, especially when you’re first learning how to cast. Stopping the spool is the most critical skill in avoiding backlashes.
Backlashes occur because we don’t stop the spool from spooling off too much line and getting tangled within itself.
When we cast, the spool is spinning at the speed needed to match the speed of the lure flying through the air. The moment the lure stops, the spool needs to stop.
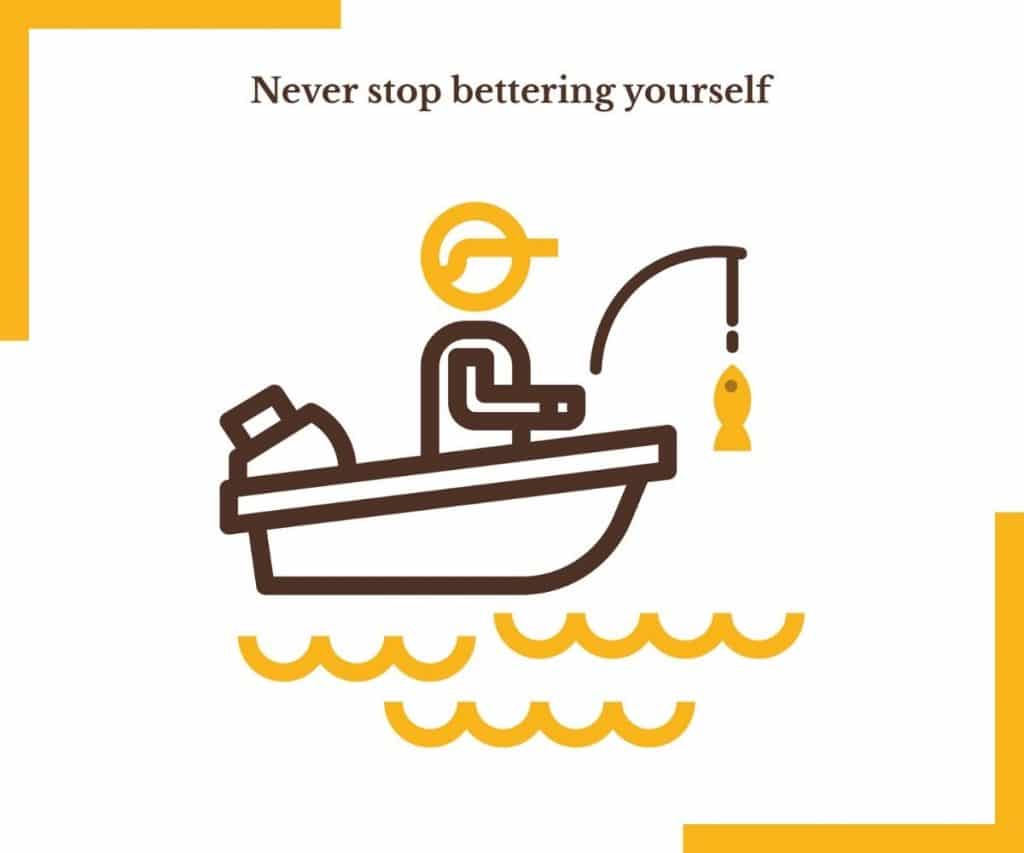
Step 7: Never Stop Bettering Yourself
Keep practicing! As you become more proficient you will be able to lessen the tension knob and make longer casts.
You will also learn different casting techniques to add to your arsenal. Flipping, pitching, and skipping are most commonly done with a baitcasting rod and reel.
Practicing all of these techniques in your yard before going to the water is a great idea!
When I get a new rod and reel I will go outside to my yard to initially tune my reel to the lure I plan on throwing on my next fishing trip.
5 Advanced Baitcasting Tips
As you become more comfortable casting a baitcaster you will want more advanced techniques to help further you along. These are several that I have found to help me avoid a nasty backlash.
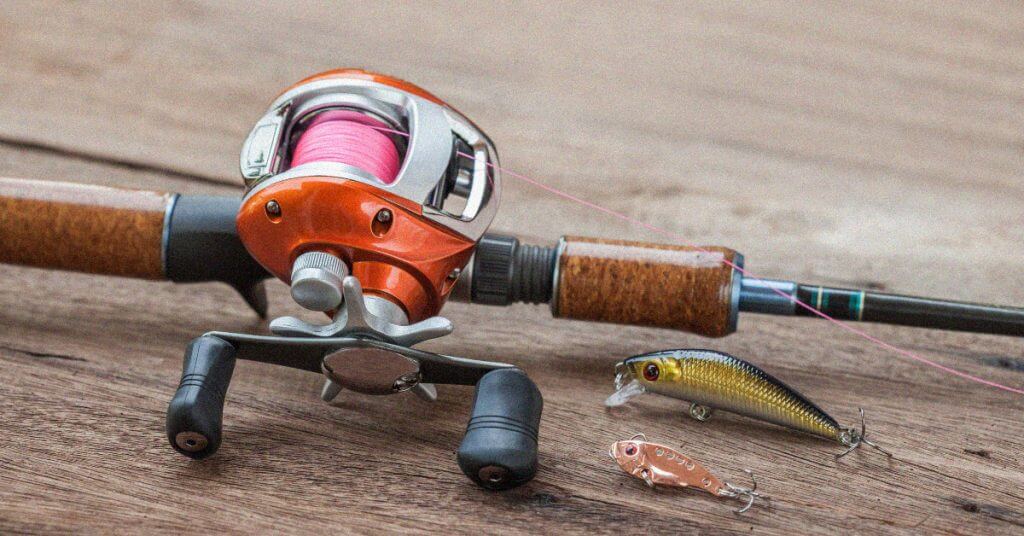
Type of Line to Use on a Baitcaster
The type of line that you decide to use is important. I believe monofilament is much less likely to backlash than fluorocarbon. I have heard braided lines are more likely to backlash, however, I do not get as bad of a bird’s nest when I do backlash with braided lines. Initially going with a heavier line will also help to keep your backlash to a minimum.
Prepare Ahead of Time
Setting up your reel to the lure you plan on using before heading to the water means you get to begin fishing that much quicker once you reach your favorite fishing destination. This will give you confidence in your casting and help you to avoid nasty backlashes. You can spend more time fishing and less time getting untangled.
Lure Selection Matters
Your spool tension will depend on your lure selection. A small light crankbait will be much more difficult to cast than a heavier spinnerbait. You will want to be closer to free spool with the lighter crankbait than you would with the heavier spinnerbait.
To judge this I will hold my rod tip straight out in front of me and let my lure hang about six inches from the tip. I will then put my reel in free spool. My goal is to have the lure fall slowly to the ground. If it falls too fast I get more backlashes, so I tend to stay on just a tad more the brake than the free spool side of things.
The Challenge of the Wind
Casting into the wind is a challenge. You will need to increase your brake when casting into the wind. This can be a hassle when you are constantly changing directions while on a boat but it’s not such a big deal while fishing off of the bank or a dock.
A big mistake I often make while casting into the wind is casting too hard. I try to compensate for the distance my lure won’t go against the wind by casting harder and I end up creating the notorious eagles’ nest. Keeping a smooth casting motion instead of trying to muscle it against the wind is always the best way to go.
Practice Baitcasting Techniques
While practicing in your yard place a hula hoop at different distances and try to drop your lure inside the hula hoop. After you have mastered the hula hoop from several different distances find a smaller object to cast into like a 5-gallon bucket. This will help you cast more accurately and you will learn when to stop your lure to avoid getting a backlash.
Concluding Thoughts: How to Cast a Baitcaster
You should now have a solid understanding of how to cast a baitcaster. However, this is just the beginning of the learning process. If you apply these tips you will be able to avoid some of the mistakes I have made and still make to this day.
I have not mastered the art of casting a baitcaster reel nor do I believe I ever fully will master this skill. That is the joy of fishing, we always need to keep learning and honing our skills to be better fishermen than we were the day prior.
Just because you have learned to use a baitcaster doesn’t mean your spincasting days are behind you! Many fishing techniques require a spincasting setup. So don’t throw away your trusty spincaster, keep adding to your arsenal of fishing skills with both rods and reels.
Now get to the water and catch some fish!
yourbassguy.comYou decided to take your bass fishing to the next level and bought a baitcaster, congratulations!
However, if you’re anything like I was in the beginning, you have no idea how to cast a baitcaster without creating a bird’s nest large enough for an eagle family to make their home in!
Thankfully, I learned how to avoid creating a bird’s nest on every cast from more seasoned anglers than myself.
I can’t say my fishing line never backlashes but it occurs much less often than it used to thanks to the lessons I have learned.
YourBassGuy.com Community Coordinator, Wesley Littlefield demonstrates how he casts a baitcaster in this YouTube video!
How to Cast a Baitcaster Without Backlash
Casting a baitcaster reel is different from casting a spinning reel. You will notice the line spools off of the baitcasting reel differently and this is why the braking system/spool tensioner is needed.
Before casting for the first time I highly recommend tightening the brakes on your reel. This will cause the spool to NOT spin freely and make it much more difficult to backlash. It will also cause your cast to not go as far as it could.
Don’t fret your casting distance will increase as you become more comfortable with a baitcaster and using your thumb as a brake instead of the magnetic brakes on your reel. The following are the seven basic steps needed to cast a baitcaster reel. Understanding these basic steps will help you spend more time fishing and less time picking at a backlash.
Step 1: Where to Keep Your Lure
To begin casting make sure your lure is near the tip of your baitcasting rod. I try to keep my lure within six inches of my rod tip to ensure a consistent cast.
Leaving too much line out could cause you to backlash and reeling the lure into the rod tip could break the tip or cause it to get hung up on the rod and cause a backlash.
Step 2: How to Grip Your Baitcaster Handle
Now we move on to your grip. I place my dominant hand just under the reel with my thumb resting on the button and spool at the same time.
My non-dominant hand is gripping the fishing rod near the bottom.
You will find the exact position that is most comfortable for you but the main thing is keeping your thumb where it can always come into contact with the fishing line on your spool.
Remember, your thumb is the brake for the spool.
Step 3: When to Release the Spool
Now it’s time to press the spool release button and rest your thumb against the spool simultaneously. This will keep your lure from falling to the ground before you cast.
If your brakes are cranked all the way up your lure shouldn’t fall but this is a good habit to develop for when you lessen the brakes as you hone the skill of casting a baitcaster.
Step 4: Casting Angles
While keeping your thumb on the spool bring the rod tip back between 12 o’clock and 3 o’clock. You will find being able to cast from all angles will be needed while fishing eventually.
I found it was easiest for me to cast sidearm initially and gradually work my way towards casting directly over my head.
Step 5: Baitcasting Motion
Quickly bring the rod tip forward while simultaneously removing your thumb from the spool. The smoother you can make your cast the better. Putting more power into your cast does not always mean more distance and often results in a terrible backlash.
It will take a bit of practice to get the timing down for when to remove your thumb and exactly how much power to put behind your cast. Following through with your rod tip will help you cast more accurately. I end my cast by pointing at the location I want my lure to end up in.
Does this always work?
No, wind plays a big part in our casting accuracy but I have noticed I am much more accurate when I take the time to follow through with my cast.
Step 6: The Most Important Step! Stopping the Spool
As the lure is flying through the air get ready to place your thumb back on the spool to stop it. You want to stop the spool the exact moment the lure falls into the water.
If you do not, you guessed it, a bird will build a nest inside your reel. Don’t be afraid to stop your lure before it hits the water, especially when you’re first learning how to cast. Stopping the spool is the most critical skill in avoiding backlashes.
Backlashes occur because we don’t stop the spool from spooling off too much line and getting tangled within itself.
When we cast, the spool is spinning at the speed needed to match the speed of the lure flying through the air. The moment the lure stops, the spool needs to stop.
Step 7: Never Stop Bettering Yourself
Keep practicing! As you become more proficient you will be able to lessen the tension knob and make longer casts.
You will also learn different casting techniques to add to your arsenal. Flipping, pitching, and skipping are most commonly done with a baitcasting rod and reel.
Practicing all of these techniques in your yard before going to the water is a great idea!
When I get a new rod and reel I will go outside to my yard to initially tune my reel to the lure I plan on throwing on my next fishing trip.
5 Advanced Baitcasting Tips
As you become more comfortable casting a baitcaster you will want more advanced techniques to help further you along. These are several that I have found to help me avoid a nasty backlash.
Type of Line to Use on a Baitcaster
The type of line that you decide to use is important. I believe monofilament is much less likely to backlash than fluorocarbon. I have heard braided lines are more likely to backlash, however, I do not get as bad of a bird’s nest when I do backlash with braided lines. Initially going with a heavier line will also help to keep your backlash to a minimum.
Prepare Ahead of Time
Setting up your reel to the lure you plan on using before heading to the water means you get to begin fishing that much quicker once you reach your favorite fishing destination. This will give you confidence in your casting and help you to avoid nasty backlashes. You can spend more time fishing and less time getting untangled.
Lure Selection Matters
Your spool tension will depend on your lure selection. A small light crankbait will be much more difficult to cast than a heavier spinnerbait. You will want to be closer to free spool with the lighter crankbait than you would with the heavier spinnerbait.
To judge this I will hold my rod tip straight out in front of me and let my lure hang about six inches from the tip. I will then put my reel in free spool. My goal is to have the lure fall slowly to the ground. If it falls too fast I get more backlashes, so I tend to stay on just a tad more the brake than the free spool side of things.
The Challenge of the Wind
Casting into the wind is a challenge. You will need to increase your brake when casting into the wind. This can be a hassle when you are constantly changing directions while on a boat but it’s not such a big deal while fishing off of the bank or a dock.
A big mistake I often make while casting into the wind is casting too hard. I try to compensate for the distance my lure won’t go against the wind by casting harder and I end up creating the notorious eagles’ nest. Keeping a smooth casting motion instead of trying to muscle it against the wind is always the best way to go.
Practice Baitcasting Techniques
While practicing in your yard place a hula hoop at different distances and try to drop your lure inside the hula hoop. After you have mastered the hula hoop from several different distances find a smaller object to cast into like a 5-gallon bucket. This will help you cast more accurately and you will learn when to stop your lure to avoid getting a backlash.
Concluding Thoughts: How to Cast a Baitcaster
You should now have a solid understanding of how to cast a baitcaster. However, this is just the beginning of the learning process. If you apply these tips you will be able to avoid some of the mistakes I have made and still make to this day.
I have not mastered the art of casting a baitcaster reel nor do I believe I ever fully will master this skill. That is the joy of fishing, we always need to keep learning and honing our skills to be better fishermen than we were the day prior.
Just because you have learned to use a baitcaster doesn’t mean your spincasting days are behind you! Many fishing techniques require a spincasting setup. So don’t throw away your trusty spincaster, keep adding to your arsenal of fishing skills with both rods and reels.
Now get to the water and catch some fish!