Mounting a trolling motor to your freshwater or saltwater kayak is a game-changer, and anyone can do it.
Most trolling motors for kayaks propel the kayak much faster than anyone can paddle for an extended time, and you save your energy for fishing so you can stay out on the water longer.
These reasons and more are why so many anglers install trolling motors on their kayaks.
There are three general locations to install a kayak trolling motor; the bow, the transom/stern, and using a trolling motor bracket.
In this guide, we will walk you through how to mount a trolling motor on a kayak in the most common location so you can begin fishing more effectively.
Can You Put A Trolling Motor On A Kayak?
Yes, you can put a trolling motor on a kayak. Kayak trolling motors are designed to be mounted to the bow, transom, or a trolling motor bracket. Kayak trolling motors are run off of a 12-volt marine battery and usually have 55lbs of thrust.
YBG Community Coordinator Wesely Littlefield explains how to mount a trolling motor to the transom of a kayak in this Youtube video!
What You Will Need To Put A Trolling Motor On A Kayak?
Installing a kayak trolling motor is rarely tricky, no matter where you want it mounted. That’s why I believe anyone can do it. It doesn’t take any special tools and in most cases shouldn’t take more than one hour.
The gear and tools required to mount a trolling motor vary depending on your kayak, where you want it located on your kayak, and the trolling motor. In general, you will need
- A trolling motor
- Trolling motor battery
- An impact/drill
- Screwdriver
- Quick-release mounting bracket
- Battery Box
- Wiring Kit
- Waterproof sealant/ silicone
- At least an hour
Each trolling motor and kayak brand will be slightly different, so it’s best to check with the specific brands and order the mounting bracket directly from them so you can ensure a secure fit.
Trolling Motor
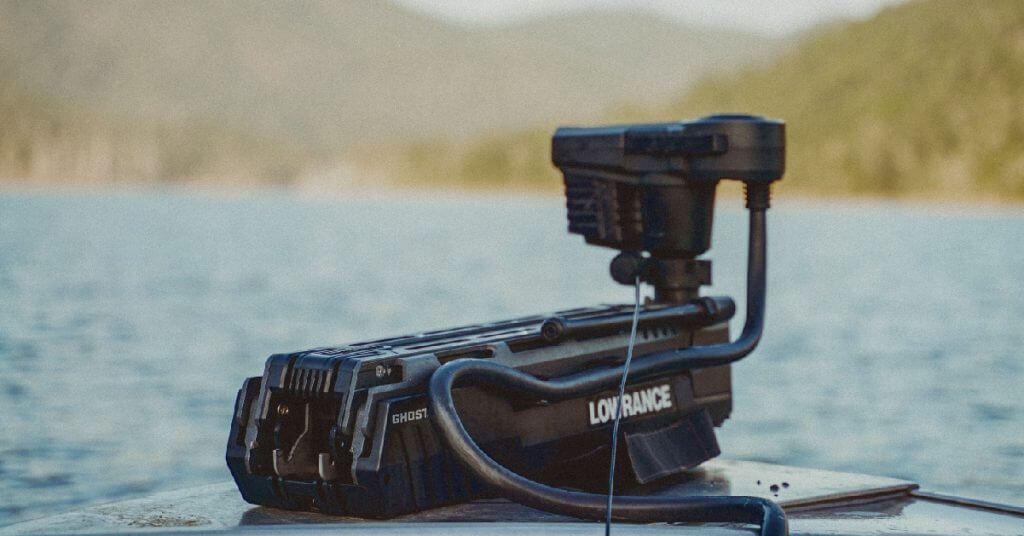
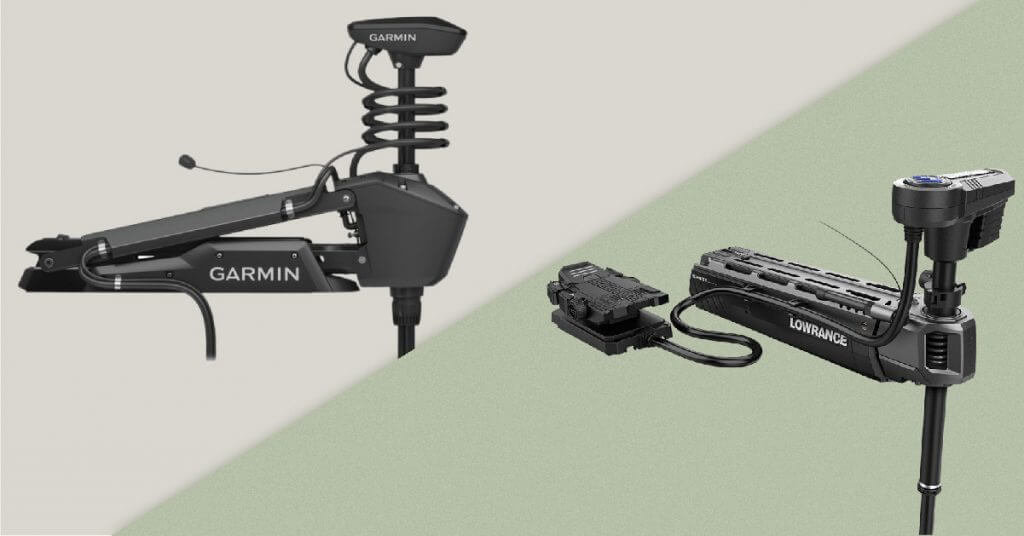
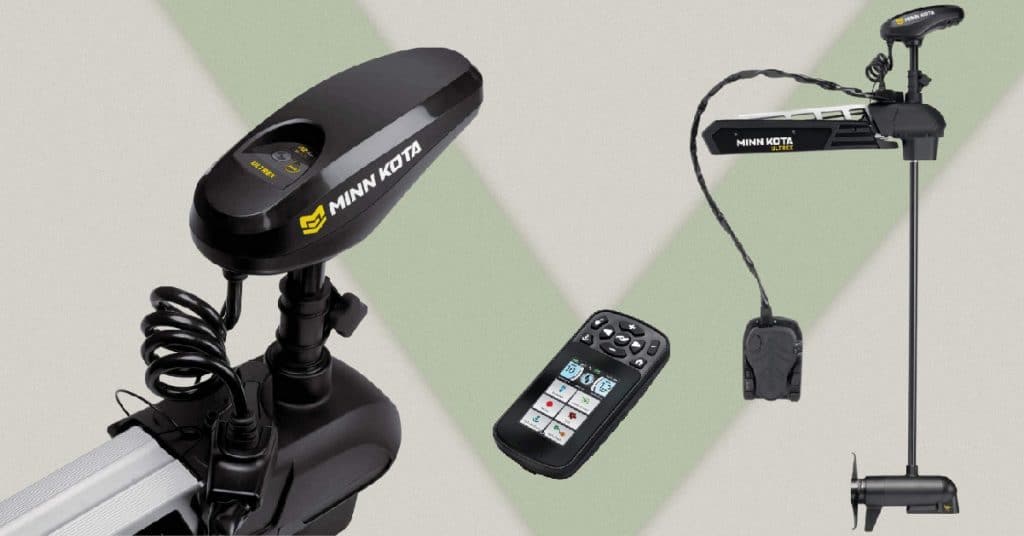
Choosing a suitable trolling motor makes a tremendous difference in how easy the installation process goes. Many companies have kayak-specific trolling motors that are worth considering.
Trolling Motor Battery
You’re going to need a trolling motor battery. The deep cycle battery needs to be lightweight. Otherwise, you run the risk of overloading your kayak and causing it to be unstable. If you need help choosing a trolling motor battery, we found the best kayak trolling motor batteries available.
Battery Box
A battery box is the best place to keep your battery in your kayak. You can strap it in and secure it in place, so it doesn’t slide around in your kayak.
An Impact/Drill
You’ll need an impact or a drill to install screws and drill holes. Not all kayak trolling motor installations require you to use an impact and drill, but they’re handy to have around if you do happen to need one.
Screwdriver
While it’s faster and easier to use an impact to screw in a screw, you’re dealing with fiberglass or plastic. An impact can easily strip those materials, so it’s best to use a screwdriver to hand tighten any screws in the plastic or fiberglass.
Quick-Release Mounting Bracket
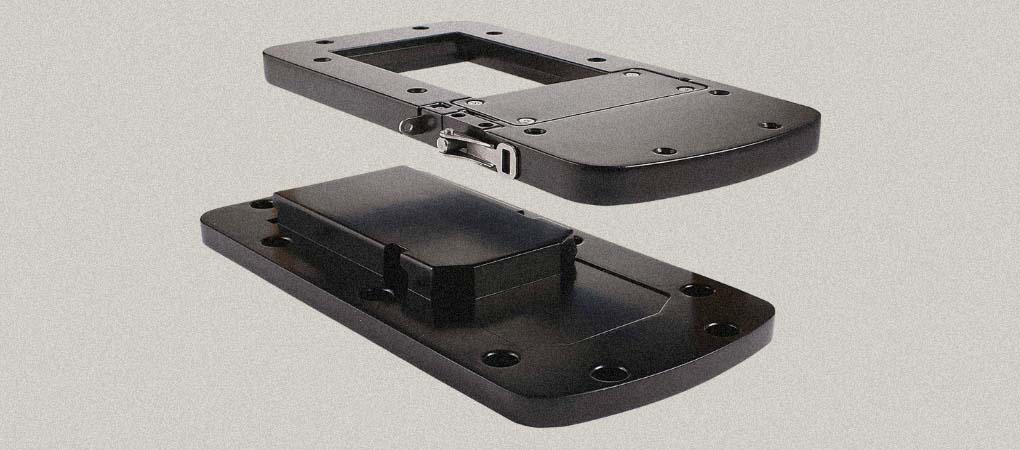
A quick-release mounting bracket is for bow mount trolling motors. It enables you to quickly detach the trolling motor so you can transport your kayak.
Wiring Kit
A wiring kit makes wiring your trolling motor to your battery easier and less messy. While it’s not always necessary, I highly recommend purchasing one.
Waterproof Sealant/Silicone
Silicone or another type of sealant is ideal for putting on and around screws and holes you drilled in your kayak to keep water from getting into your kayak. You don’t need a lot so a small tube will go a long way.
At Least An Hour
I don’t particularly appreciate starting a project only to have to stop and finish it another time, so I recommend having at least an hour to complete this project.
Step By Step Instructions – Mounting A Trolling Motor On A Kayak
If you have one of the best fishing kayaks, chances are you have at least one location to mount a trolling motor, if not multiple locations. Fishing kayak manufacturers have designed their kayaks to be as versatile as the anglers that use them, which makes installing a trolling motor fairly simple.
However, if you have a recreational kayak that’s not explicitly designed for fishing, then mounting a trolling motor might be a little more complicated, but don’t worry, it’s still manageable for the everyday handyman!
Before purchasing a trolling motor, you want to make sure your yak can handle the style of motor you want to get. Otherwise, you’re making the process much more difficult for yourself.
Let’s begin with mounting a kayak trolling motor to the bow.
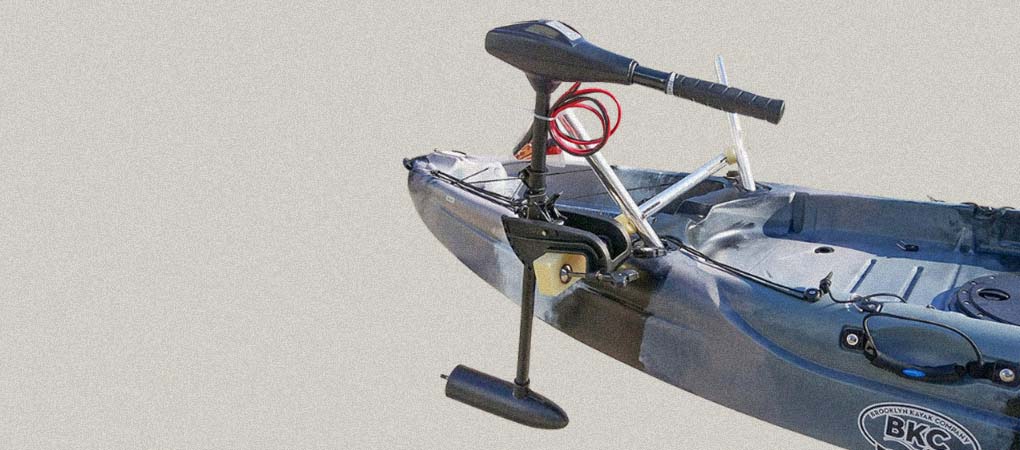
Installing A Bow Mount Kayak Trolling Motor
Putting an electric trolling motor on the bow of a kayak is my preferred method. The process varies depending on which trolling motor and kayak combination you have, but they’re generally all similar.
Edwin Evers does an excellent job of explaining how to mount a Motorguide trolling motor to the bow of an Ascend 133X kayak in the first part of his video below.
Step 1
Purchase one of the best trolling motors and trolling motor batteries.
Not all trolling motors and batteries are designed for kayaks or to be mounted on the bow. Buying the trolling motor and battery that best fits your kayak will save you hours of frustration.
Step 2
Unbox everything.
Makes sure you have all the hardware and parts you need. Sort them into piles in the order that you will need them so you don’t have to go searching for a screw for 30 minutes! Some kits will come with spare parts so don’t be surprised to have screws left over.
Step 3
Install the mounting bracket to the bow.
Each brand of kayak will be slightly different, so follow the instructions provided with the bracket.
If you don’t have instructions, I highly recommend calling your local kayak shop for assistance.
Generally, you should have two to four screws or bolts that secure the bottom piece of the bracket to the kayak. Then the bottom piece of your quick-release bracket is installed on top of the bottom piece of your motor bracket using four more screws that are provided in your kit.
Now you can install the top piece of the quick-release bracket to the bottom of the top piece of the trolling motor bracket.
Ensure that they fit and are secure.
Step 4
Begin wiring your trolling motor.
If you purchased a wiring kit, this would be much more simple. The wiring kit will allow you to connect the red wire from the plug to the long red wire and the black wire from the plug to the long black wire. If you’re not comfortable wiring, then ask a buddy for help! A few free beers is usually a good motivator!
Depending on your kayak, you might have to drill a couple of holes to run the wire through and install the plugs. Some kayaks have removable plates that help with this process.
Once the wires are run from the trolling motor to the battery, plug it in and ensure it runs.
Step 5
Test it out!
Head out to a pond or lake and test out your new bow mount kayak trolling motor! Go with the expectation of learning how the trolling motor works and how to use the remote control before you go out to fish with it. Using a trolling motor and fishing is a learning experience that’s well worth the investment!
What if your kayak doesn’t have a spot to mount a trolling motor at the bow? Don’t worry; you can still mount a trolling motor in other locations, including on DIY mounts made from PVC.
How To Put A Trolling Motor On A Kayak Transom
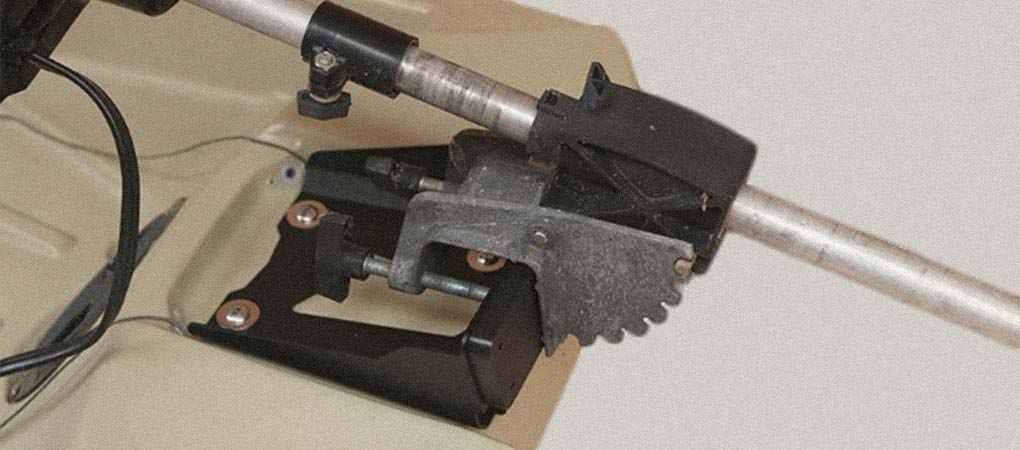
Installing a trolling motor on the transom of a kayak is the most simple way to mount a trolling motor if you’re using the correct motor mounting kit and kayak. Most inflatable kayaks will require you to use a transom mount trolling motor, but they’re not the only kind of kayak that is ideal for transom mount trolling motors.
I have a small outboard motor that quickly installs onto the stern mount of my kayak. I must remove it during transport but it’s a simple one-person job so it’s not a big deal. The same should be the case for your stern mount trolling motor.
Newport Vessels makes some of the best transom mount trolling motors on the market at budget-friendly prices.
Step 1
Place the trolling motor bracket onto the transom of your kayak.
The kayak trolling motor mount should slide straight down onto the flat rear part of your kayak. Once it’s in place hand tighten the wing bolts in similar increments. Don’t fully tighten one side before starting the other; this will cause your trolling motor to sit crooked or slide to one side of the transom.
Step 2
Hook it up to the battery.
If you plan to place the battery in the back of your kayak, you won’t have to drill any holes to run wires unless the wires are bothering you and you want to clean up the mess.
If your kayak trolling motor battery is at the front of your kayak, you will need to purchase a wiring kit and drill holes for the plugs. Once the wires are run and everything is hooked up, test the trolling motor to ensure everything is in working order.
Step 3
Take it for a test ride!
Head out to the nearest water and test out your new transom mount kayak trolling motor! You might find you want a more convenient way to raise and lower it into the water or change the way you steer the trolling motor. Once it’s installed there are endless possibilities for customizing it to fit your style of kayaking and fishing.
Conclusion
No matter how you choose to mount your trolling motor, it will exponentially increase your fishing experience. Using an electric kayak instead of paddling all day helps you to avoid fatigue and enjoy more time on the water.
Now that you know how to mount a trolling motor on a kayak let us know in the comments which kayak trolling motor position you prefer.